Halloween Shape Witch
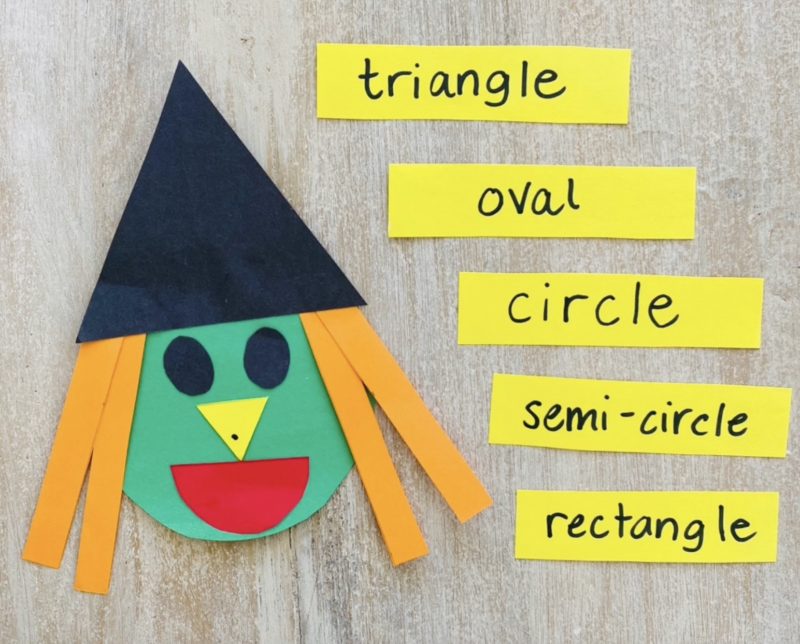
This is a fun and easy shape recognition activity for early learners, creating a witch's face that can be used as a Halloween decoration.
- review
- share
Add to My LearningRemove from My Learning
Add to My Learning
For this activity:
- You will need: coloured paper – black, orange, red, green and yellow, glue and markers.
- On slips of paper, write out the names of the shapes you will focus on: semi-circle, triangle, rectangle, circle and oval.
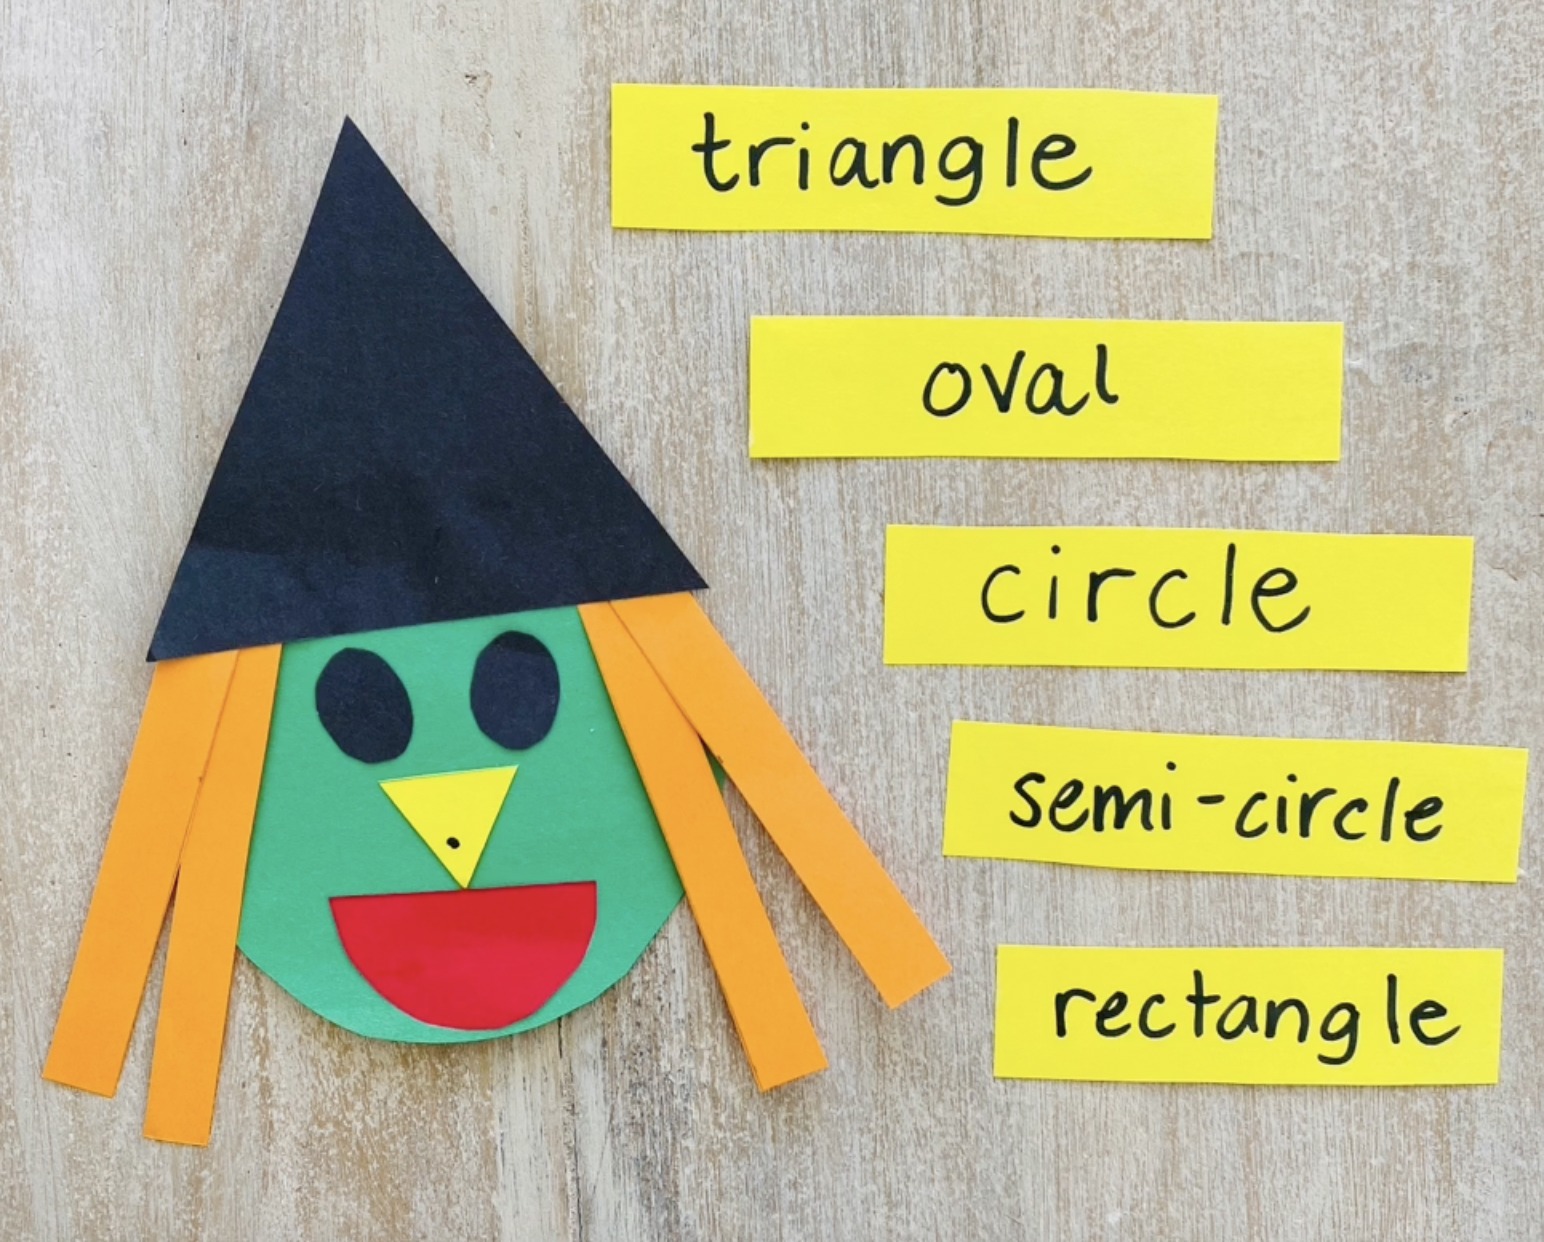
- Cut out these shapes using the coloured paper – large green circle (face), large black triangle (hat), two small black ovals (eyes), semi-circle in red (mouth), small yellow triangle with a wart (nose) and four long, thin orange rectangles (hair).
- First spread out the cut-out papers and group them together based on shape. Look at each shape and point out how many sides, how many corners, how many curved edges? Attempt to name each shape.
- Introduce the shape name cards and match the name with the shape.
- Ask your child how we can use these shapes to make a witch’s face? What shapes would be appropriate for each part of her face.
- Assemble the witch – start with the eyes, nose and mouth. stick down the strips of hair and then glue the hat over the top part of the face.
- Now you can use your shape witch as a Halloween decoration!
Customer Reviews
Create review - be first!
